
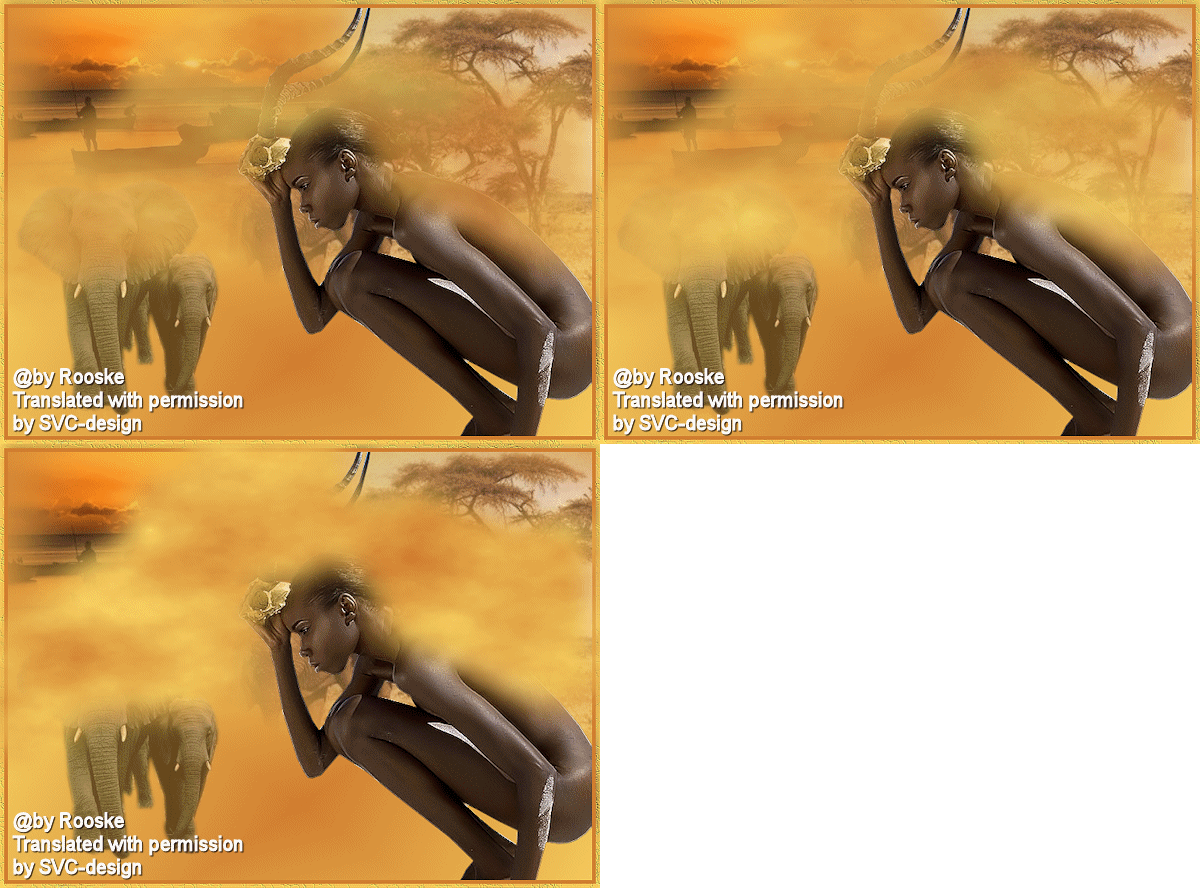
This lesson is made with PSPX9
But is good with other versions.
© by SvC-Design

Materialen Download :
Here
******************************************************************
Materials:
1250147502_paysages.psp
1293039953_paysages_nikita.psp
calguisgazelle1019.psp
N-10.psp
******************************************************************
Plugin:
Plugin - MuRa's Meister – Clouds
******************************************************************
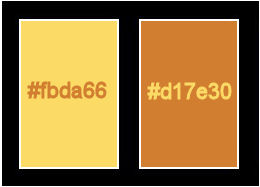
color palette
:
******************************************************************
methode
When using other tubes and colors, the mixing mode and / or layer coverage may differ
******************************************************************
General Preparations:
First install your filters for your PSP!
Masks: Save to your mask folder in PSP, unless noted otherwise
Texture & Pattern: Save to your Texture Folder in PSP
Selections: Save to your folder Selections in PSP
Open your tubes in PSP
******************************************************************
We will start - Have fun!
Remember to save your work on a regular basis
******************************************************************
Foreground: #fbda66 Background: #d17e30
1.
Open a new transparent image of 750x550 pixels
2.
Linear Gardient
Make Linear Gardient
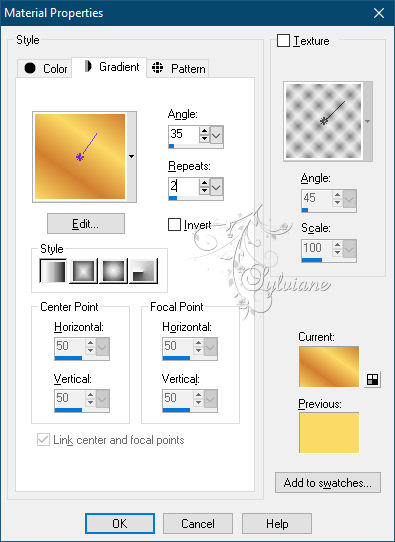
Fill your empty image with gradient.
3.
Layers – Duplicate
Image - Mirror – mirror Horizontal
4.
Set the opacity to 66
Layers - Merge - Merge visible layers
5.
Open 1250147502_paysages.psp
Edit - Copy
Edit - Paste as new layer
6.
Stretch this over the width of your worktop
7.
Open calguisgazelle1019.psp
Edit - Copy
Edit - Paste as new layer
8.
Resize with 80%, no checkmark at resize all layers.
Put them right.
9.
Effects - Edge Effects - Enhance
10.
Open N-10.psp
Edit - Copy
Edit - Paste as new layer
11.
Resize with 80%, no checkmark resize all layers.
Set the layer opacity to 55.
12.
Layer – merge – merge all (flatten)
13.
Image - Add Borders - 5 pixels - background
Image - Add Borders - 5 pixels - foreground.
14.
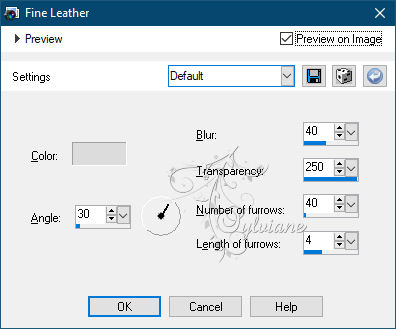
Select the outer edge with your magic wand and go to

effects – texture effects – fine leather - standard

15.
Adjust – scharpness – scharpen
16.
Selection - Select None
17.
Place your name or watermark.
18.
Make your creation 600 pix longest side.
19.
Take your lasso and put feathers in the top of the beam 8.
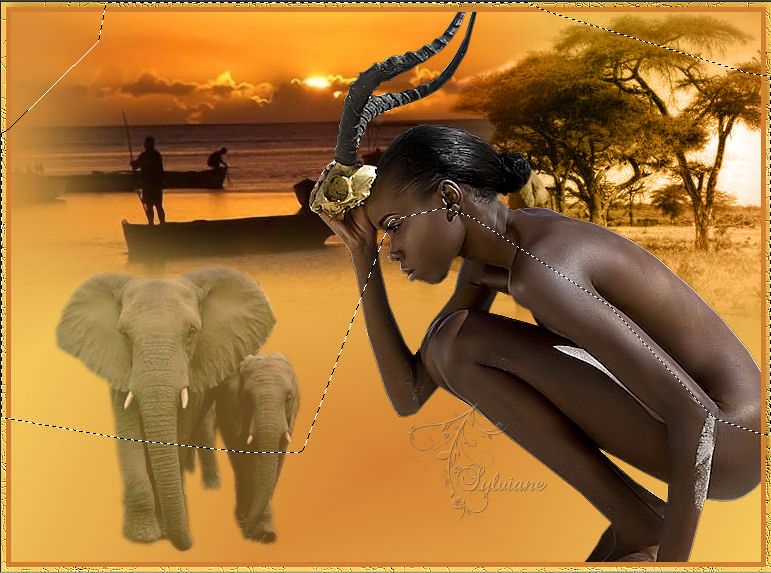
20.
Freehand select a piece in your creation with your lasso
21.
Duplicate your creation 2x.
22.
Activate the top layer.
23.
Plugin - MuRa's Meister – Clouds and set the settings as shown on the screen
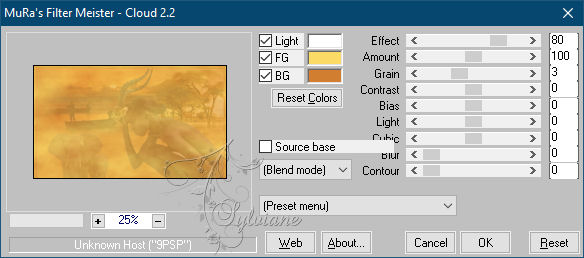
24.
Activate the layer below and apply the filter again but set effect to 100.
25.
Activate the bottom layer and apply the filter with effect at 90.
activate the the third layer apply filter and effect on 80.
26.
Selection - Select None
27.
Copy the bottom layer and open animation shop and paste as new animation.
28.
Back to psp and copy the middle layer.
29.
To AS and paste after current.
30.
Back to psp and copy the top layer.
31.
To AS and paste after current.
32.
Click on your keyboard on ctrl and A and everything is selected.
33.
Animation - frame properties at 40.
34.
Save your work as a gif.
Back
Copyright Translation © 2021 by SvC-Design